


Installing ceiling downlights has become a popular choice for homeowners and businesses alike due to their aesthetic appeal and energy efficiency. This article will provide an in-depth introduction to the process of installing ceiling downlights, including the benefits, types, and steps involved. Whether you are planning to install ceiling downlights in your own home or as a professional in the industry, this guide will equip you with the knowledge needed to make informed decisions.
Benefits of Installing Ceiling Downlights
Installing ceiling downlights offers numerous benefits that make them a desirable option for lighting in residential and commercial spaces. Here are some of the key advantages:
1. Energy Efficiency
Ceiling downlights are designed to be energy-efficient, consuming less electricity compared to traditional lighting fixtures. This not only helps reduce your energy bills but also contributes to a greener environment.
2. Aesthetic Appeal
Downlights provide a sleek and modern look to any room. Their concealed design adds a sense of sophistication and can enhance the overall ambiance of a space.
3. Even Distribution of Light
Ceiling downlights emit light uniformly across the room, eliminating dark corners and creating a well-lit environment. This ensures that every corner of the room receives adequate illumination.
4. Easy Installation
Installing ceiling downlights is relatively straightforward, making it a suitable DIY project for many homeowners. Additionally, professional installation is quick and hassle-free, minimizing downtime.
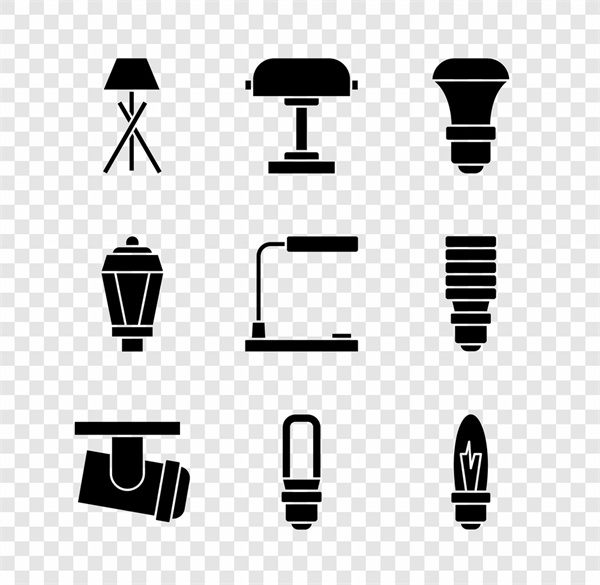
Types of Ceiling Downlights
There are various types of ceiling downlights available in the market, each with its own unique features and benefits. Here are some common types:
1. Integrated Downlights
Integrated downlights are a popular choice due to their simplicity and ease of installation. They consist of a single unit that includes both the light source and the housing. These downlights are available in different sizes and shapes to fit various ceiling designs.
2. Recessed Downlights
Recessed downlights are designed to be mounted into the ceiling, creating a flush finish. They are ideal for creating a seamless and modern look. Recessed downlights come in various sizes and light output options.
3. Surface-Mounted Downlights
Surface-mounted downlights are mounted directly onto the ceiling, making them suitable for installations where recessed downlights are not feasible. These downlights are available in various designs and finishes to complement different interior styles.
4. Track Downlights
Track downlights are mounted onto a track system, allowing for flexibility in positioning the lights. This type of downlight is ideal for creating dynamic lighting effects and is commonly used in retail spaces and restaurants.
Steps for Installing Ceiling Downlights
Installing ceiling downlights requires careful planning and execution. Here is a step-by-step guide to help you through the process:
1. Safety Precautions
Before beginning the installation, ensure that the power supply to the area is turned off. It is crucial to prioritize safety to prevent any accidents or electrical hazards.
2. Select the Right Downlights
Choose the appropriate downlights based on the room size, desired light output, and ceiling design. Consider factors such as beam angle, color temperature, and lumens.
3. Mark the Installation Points
Using a pencil or a marking pen, mark the installation points on the ceiling where the downlights will be mounted. Ensure that the points are evenly spaced and aligned with the electrical circuit.
4. Cut the Ceiling
Using a jigsaw or a keyhole saw, carefully cut the ceiling to create a hole for each downlight. Ensure that the holes are slightly larger than the diameter of the downlight housing.
5. Install the Downlights
Insert the downlight housing into the ceiling hole and secure it using screws or clips provided. Connect the electrical wires according to the manufacturer’s instructions.
6. Test the Installation
Turn on the power supply and test each downlight to ensure that they are functioning properly. Check for any flickering or dimming and make necessary adjustments.
7. Final Touches
Once all the downlights are installed and functioning correctly, inspect the ceiling for any damage or imperfections. Patch up any holes or cracks and clean up the area.
Conclusion
Installing ceiling downlights is a worthwhile investment that offers numerous benefits. By following the steps outlined in this article, you can achieve a well-lit and aesthetically pleasing space. Whether you choose to install them yourself or hire a professional, ceiling downlights are a versatile and energy-efficient lighting solution that enhances the ambiance of any room.