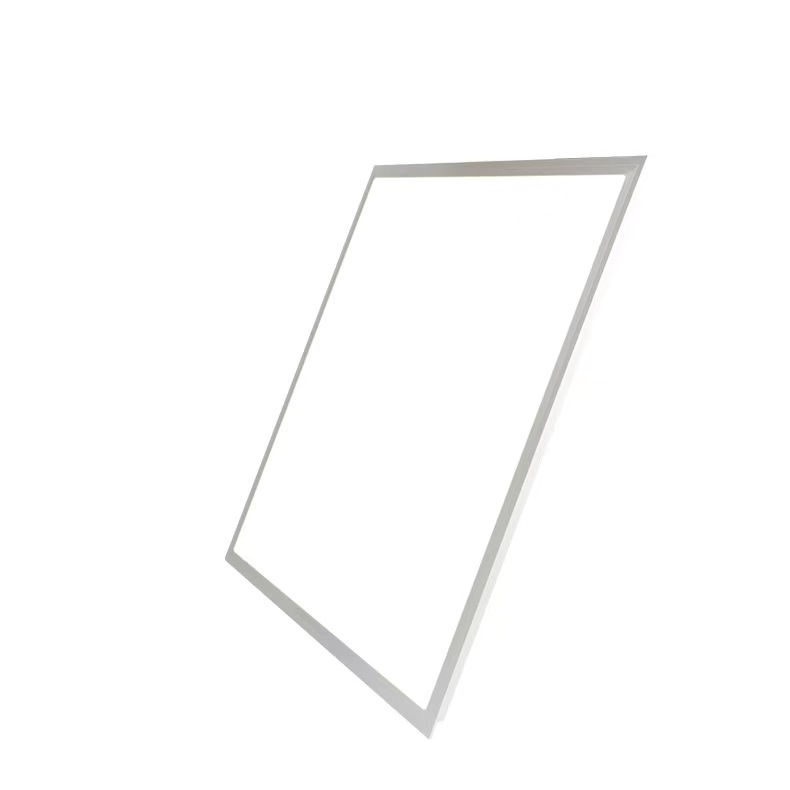
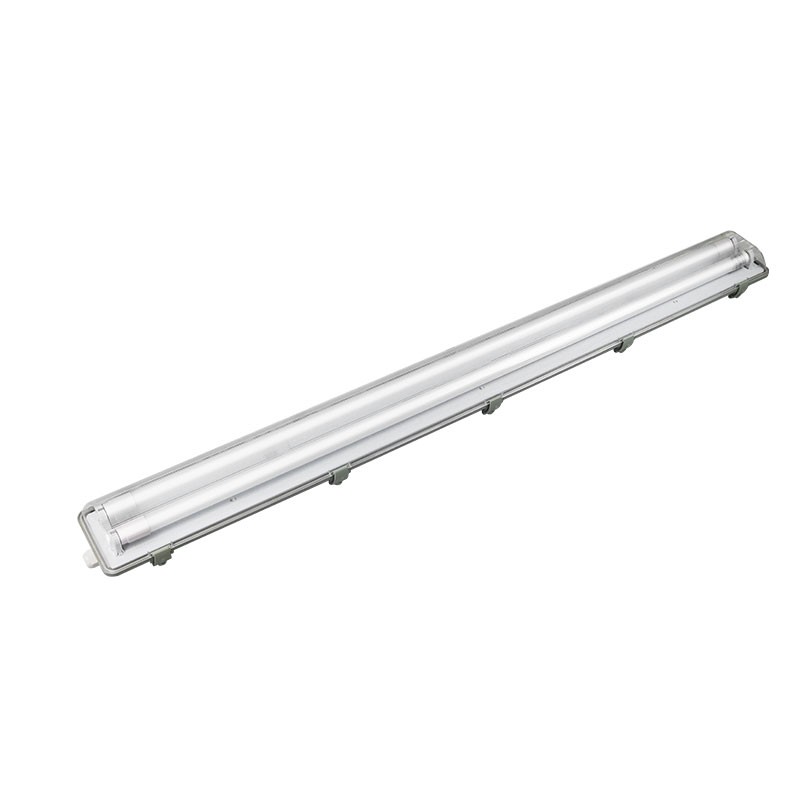
Installing ceiling downlights is a common and essential task in the field of electrical installation and home improvement. Ceiling downlights, also known as surface-mounted downlights or ceiling cans, are compact, energy-efficient lighting fixtures that are mounted directly onto the ceiling. They provide a sleek and modern look to any room while offering excellent illumination. This article will delve into the process of installing ceiling downlights, highlighting the importance of proper installation, different types of downlights, and tips for achieving a perfect fit.
Importance of Proper Installation
Proper installation of ceiling downlights is crucial for several reasons. Firstly, incorrect installation can lead to electrical hazards, such as exposed wires or faulty connections, which can pose a significant risk of fire or electric shock. Secondly, a poorly installed downlight may not function as intended, resulting in insufficient lighting or even damage to the fixture itself. Lastly, improper installation can void the warranty of the downlight, leaving the installer and the property owner with no recourse in case of any issues.
To ensure a safe and effective installation, it is essential to follow the manufacturer’s instructions and adhere to local electrical codes and regulations. Hiring a licensed electrician is always recommended, as they have the necessary expertise and experience to handle the task safely and efficiently.
Types of Ceiling Downlights
There are various types of ceiling downlights available in the market, each with its unique features and applications. The following are some of the most common types:
1. LED Downlights: LED downlights are the most popular choice due to their energy efficiency, long lifespan, and excellent color rendering. They come in various sizes and beam spreads, making them suitable for different lighting requirements.
2. Halogen Downlights: Halogen downlights are known for their bright, crisp light output. They are a cost-effective alternative to LED downlights but consume more energy and have a shorter lifespan.
3. Fluorescent Downlights: Fluorescent downlights are energy-efficient and produce a soft, warm light. They are ideal for use in areas where a warm ambiance is desired, such as living rooms or dining areas.
4. Compact Fluorescent Downlights (CFLs): CFLs are similar to fluorescent downlights but are more compact and offer a wider range of color temperatures. They are also more energy-efficient than traditional incandescent bulbs.
5. Dimmable Downlights: Dimmable downlights allow users to adjust the brightness of the light output, providing greater control over the lighting environment. They are compatible with most dimmer switches and can enhance the ambiance of a room.
Steps for Installing Ceiling Downlights
The following steps outline the general process for installing ceiling downlights:
1. Turn Off the Power: Before beginning the installation, ensure that the power to the circuit is turned off. This can be done by switching off the circuit breaker or fuse box that supplies power to the area where the downlights will be installed.
2. Prepare the Ceiling: Clean the ceiling surface where the downlights will be mounted. Remove any debris or obstacles that may interfere with the installation process.
3. Mark the Mounting Points: Using a pencil or a marker, mark the locations where the downlights will be mounted. Ensure that the mounting points are evenly spaced and centered.
4. Drill Holes: Using a drill and a suitable drill bit, drill holes in the ceiling at the marked locations. The holes should be slightly larger than the diameter of the downlight’s mounting bracket.
5. Attach the Mounting Bracket: Insert the mounting bracket into the ceiling holes and secure it in place using screws. Ensure that the bracket is level and securely fastened.
6. Connect the Wiring: Connect the wiring from the downlight to the existing electrical circuit. Follow the manufacturer’s instructions for the correct wiring connections. Use appropriate wire connectors and ensure that all connections are secure and insulated.
7. Mount the Downlight: Attach the downlight to the mounting bracket, ensuring that it is securely fastened. Tighten the screws or clips as per the manufacturer’s instructions.
8. Test the Installation: Once the downlight is mounted, turn the power back on and test the installation. Ensure that the downlight operates correctly and that there are no flickering or dimming issues.
9. Secure the Trim Ring: If the downlight comes with a trim ring, attach it to the downlight using the provided screws or clips.
10. Final Inspection: Conduct a final inspection to ensure that the installation meets all safety and code requirements. Make any necessary adjustments or repairs before considering the job complete.
Conclusion
Installing ceiling downlights is a task that requires careful planning, precision, and adherence to safety guidelines. By following the steps outlined in this article and choosing the right type of downlight for your needs, you can achieve a well-lit, energy-efficient, and aesthetically pleasing room. Remember to consult a licensed electrician if you are unsure about any aspect of the installation process to ensure a safe and successful outcome.


